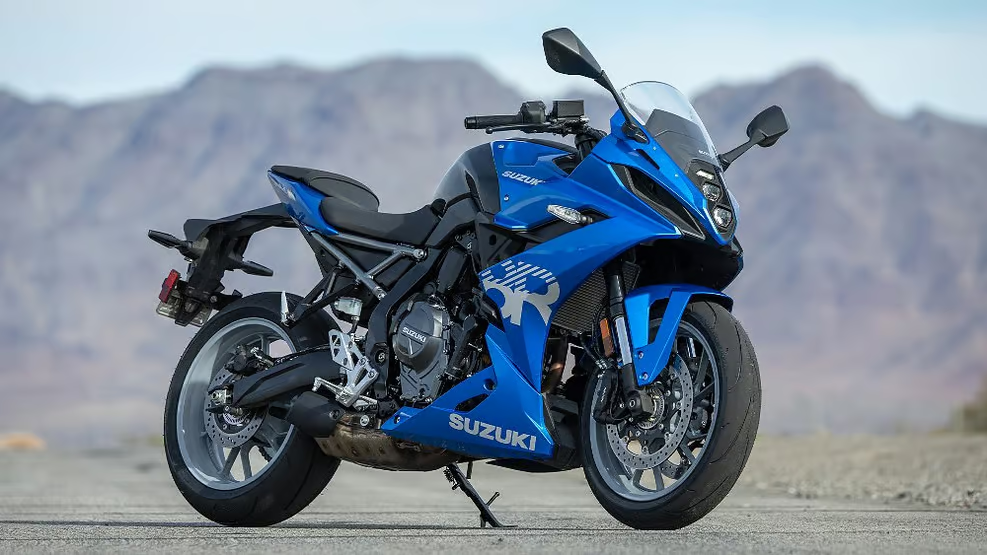
Suzuki Bike Graphics
Walk into a dirt bike dealership, and the bikes will look very similar. People might choose a bike because they like its appearance, but they are more concerned with its performance. However, once they purchase a dirt bike, they may want to customize it to make it their own. They want to stand out on the track and tell others a little about who they are and what they value.
Suzuki bike graphics enable them to achieve these goals without incurring a significant expense. They can personalize their rides quickly and easily. What should riders know when purchasing graphics to ensure they get decals that will enhance the ride, protect the bike from harm, and allow them to stand out in a crowd?
Dirt Bike Graphics Options
Before shopping for dirt bike graphics, an owner must know which type of kit interests them. Do they want a pre-printed kit or a semi-custom one? Some riders want to create a fully customized design. It depends on the rider’s preferences and budget. What benefits and drawbacks come with each option?
Pre-printed options are excellent for riders with a limited budget and those who need a quick and easy solution. They can choose from a wide range of options and update the bike’s look in an afternoon without breaking the bank. However, they must purchase the right graphics kit for the bike’s make and model to ensure the right look.
Semi-custom kits enable owners to personalize their rides without incurring a significant expense on custom graphics. They are a nice medium between pre-printed kits and fully custom designs. These kits enable owners to change the bike’s color, add their name or sponsor logos, or customize the number plate. It’s a cost-effective solution that allows more personalized options than pre-printed kits.
Fully custom kits come with a higher price tag, but they allow the owners to create genuinely unique bikes. Each rider can create a design that demonstrates who they are and what they value. The owner collaborates with a graphic designer to create the design, or they may utilize specialized software to help them achieve the perfect look. The ideas are endless when the owner opts for a fully custom kit, and the design will be uniquely theirs.
Choosing Which Kit to Buy
Several factors must be considered when choosing a kit to purchase. The owner must first establish a budget. When they have a figure in mind, it becomes easier to narrow the options as they move forward with the purchase. They immediately know whether they must buy a pre-printed kit or have the funds to customize the graphics.
When making this decision, the owner must consider the material quality and durability. It’s never wise to choose a fully custom kit made with inferior materials, as the decals won’t hold up with time and use. The owner will have wasted their time and money on something that won’t last. Most riders prefer vinyl graphics because they withstand rough conditions and resist fading in the elements.
Choosing a Custom Design
If fully custom graphics are desired, the owner must plan and design them. They may go into the process with a vision of the decals, but it never hurts to try different color schemes and imagery. Before moving forward, measure the various dirt bike components to ensure the finished designs will fit.
Installing the Graphics
Once the decals arrive, the installation process begins. Before applying the decals, prepare the bike. All surfaces must be clean and free of dirt, oil, and other contaminants. Confirm there is no remaining adhesive residue, and dry the bike completely. Warm the plastics with a heat gun to help the decals adhere fully.
Begin working in small sections and apply the decals one at a time. Breaking it down into small parts helps remove wrinkles and ensure the deals are correctly aligned. Once the decal is in place, move from the center outward to remove wrinkles. Consider using a squeegee to help the decals lay flat, but don’t stretch them. Any stretching could lead to distorted images. When a graphic is in place, use a heat gun to set it. Repeat the process with each remaining decal, and allow the bike to sit for 24 hours to ensure a strong adhesion.
Maintaining the Graphics
Graphics do more than improve the look of a bike. They also help protect it from damage and the elements. Proper maintenance is necessary to ensure the graphics perform their intended function, so the owner must regularly clean and care for the decals. Regular cleanings prevent the graphics from fading, allowing them to retain their vibrant colors.
Mild soap and warm water will clean the graphics without harming them. Avoid using pressure washers or harsh chemicals to preserve the integrity of the decals. Dry the bike after cleaning it to prevent water stains from developing on the graphics and marring their appearance.
Clear vinyl overlays and protective films help protect the decals from wear and tear. They serve as a barrier between the graphics and items that can harm them. Wax is another way to protect the decals and keep them looking their best.
Inspect the graphics regularly to ensure they remain in good condition. If any problems are seen, correct them immediately. Doing so will reduce the risk of the graphics deteriorating further.
Dirt bike graphics allow a bike to stand out in the crowd. Owners may use them to showcase sponsors or share their personality and values with viewers. The decals also help protect the bike from harm and may increase its resale value. Potential buyers will see the graphics and know they have the option of keeping them in place or removing them to reveal the unharmed plastic.
Owners should view dirt bike graphics as an investment in their machine. When carefully chosen and properly installed, the graphics are sure to impress everyone who sees the bike. They’ll wonder how much the rider spent to create this breathtaking machine. Nobody has to share that it is much less than they imagine. That can be the owner’s and rider’s little secret.
Discover the latest news and updates on The Blog Verge


